No Bracket, No Problem: DIY Dartboard Mounting Guide
Gone are the days when hanging a dartboard without a bracket was a mysterious art known only to a select few. Today, with a little guidance and a touch of DIY spirit, anyone can safely and securely mount a dartboard without a bracket. Whether you’re setting up your game room for a night of fun with friends or you’re a newcomer to the world of DIY, this comprehensive guide will take you through each step with ease and confidence.
We’re about to enhance your game room charm with a personal touch. Are you ready to transform your space and take your dart game to the next level? Here’s you know about how to hang a dartboard without the bracket?
Materials Needed
Before you start your project, make sure you have the following materials at hand:
- A tape measure
- Pencil or marker
- A spirit level
- Screws or hanging hardware that are at least 1.5 inches long
- A screwdriver or drill
- A sturdy piece of backing material, such as plywood
- Dartboard surround or a rubber square for wall protection
- Friend or helper to assist with measuring and mounting
Be sure to gather all the necessary tools beforehand to avoid any unnecessary trips to the hardware store.
Step-by-Step Guide
Finding the Right Location
The first step is finding a suitable location for your dartboard. It should be on a wall that is clear of any obstructions and has plenty of open space around it for safety. Measure the regulation distance for the oche (the line behind which a player must stand) which is 7 feet, 9 1/4 inches. You’ll want to ensure that your throwing area is triangular, with the second point needed measured at the floor.
Marking and Preparing the Surface
Once you’ve found the spot, mark where the center of the dartboard will be. To do this, measure the width and height of the best dart board, divide both dimensions by 2, and mark the exact midpoints. Use a level to ensure your marks are perfectly straight.
Now it’s time to prepare the surface for mounting. If you are using a backing material like plywood, cut it to the size of your dartboard and attach it to the wall using appropriate anchors, so it can hold the weight of the board.
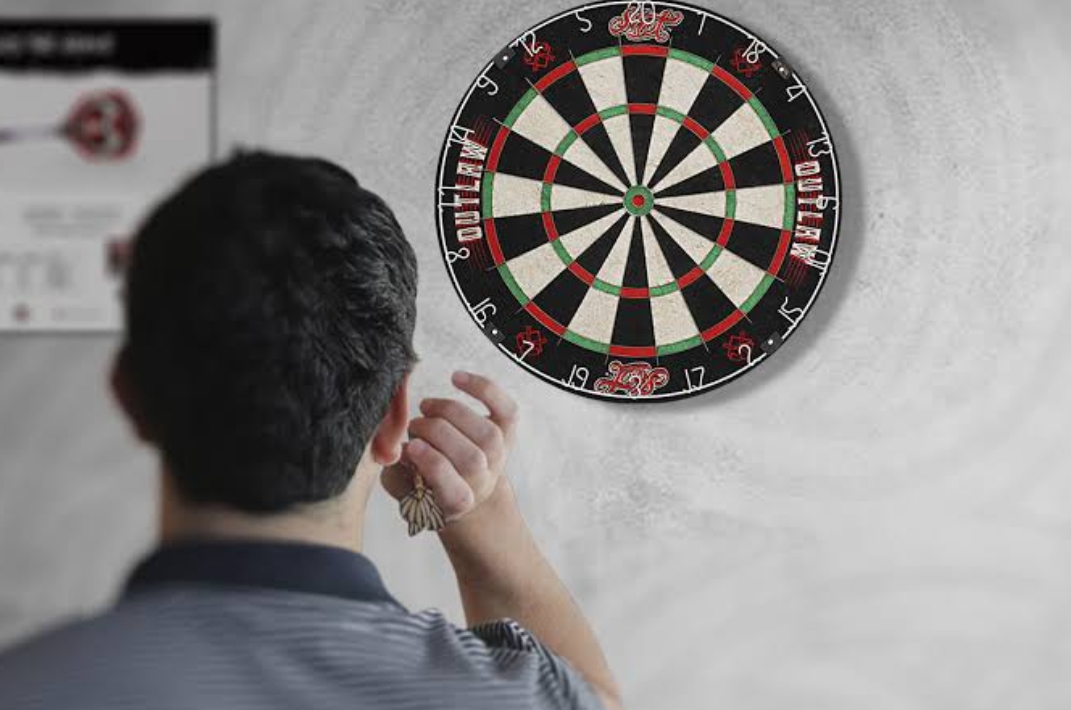
Mounting the Dartboard
Hold the dartboard against the wall so the mounting holes align with your marks from the previous step. Insert the screws through the dartboard and into the wall, turning them just enough to hold the board in place. You should have a screw through each of the dartboard’s mounting holes.
Testing Stability
Once the dartboard is fixed to the wall, give it a gentle tug to ensure it is stable. Don’t throw darts just yet! It’s time for a weight-bearing test using a level to assess any imbalance. Make any necessary adjustments until the board is not only secure but also level.
Tips and Tricks
Mounting a dartboard without a bracket can pose some challenges, but it’s nothing a few tricks can’t handle:
- Use Adequate Wall Anchors: Depending on the wall material (drywall, concrete), ensure you use the right anchors to bear the dartboard’s weight and the force of thrown darts.
- Additional Protection: Consider adding a dartboard surround or a rubber square around the board to protect your wall from stray darts.
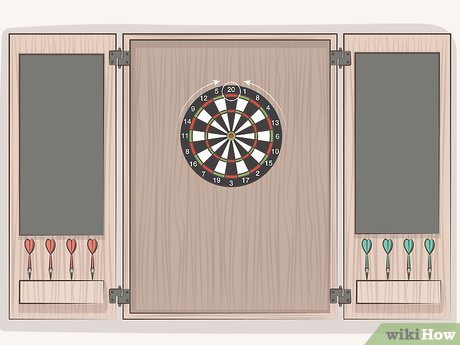
- Future Proofing: If possible, mount the dartboard at a height that will allow optional cabinets or scorekeeping boards to be added without major adjustments.
FAQ
Q: Can I use a different type of backing material?
A: Yes, as long as it is sturdy enough to hold the weight of the dartboard and securely anchors to the wall.
Q: How high should I mount the dartboard?
A: The center bullseye of the dartboard should be 5 feet, 8 inches from the floor. However, make sure to adjust for any cabinets or scorekeeping boards you may want to add in the future.
Q: Can I mount a dartboard on a door?
A: No, it is not recommended as the constant opening and closing of the door could affect the stability of the board. It’s best to choose a solid wall for mounting. So why wait? Gather your materials and get ready for a fun game night with your friends! Remember to always practice safety and accuracy while playing darts. Happy DIY-ing! Have any questions? Feel free to reach out to us on our website or social media channels for more tips and advice.
Conclusion
With just a handful of materials, a bit of careful measurement, and the right technique, you can proudly display your dartboard on the wall. Adhering to the right methods ensures not just a polished aesthetic but also a playing environment that’s safe and enjoyable.
Never underestimate the power of a securely hung dartboard. It’s not only about your safety, but also about the longevity of your game room setup. A well-mounted dartboard is a reflection of a solid DIY project—one that’s both rewarding and functional.
Your game room is set to be the envy of your friends. Happy darting!