Steps for Sealing An Outdoor Concrete Patio

Sealing an outdoor concrete patio is essential for enhancing its durability and appearance. A well-sealed patio resists water penetration, stains, and weather-related damage, extending its lifespan and maintaining its aesthetic appeal. Furthermore, the sealing process can enhance color, add gloss, and prevent mold and mildew growth, promoting a cleaner, more pleasant outdoor living space.
Concrete patio sealer acts as a protective barrier that not only shields the patio from the elements but can also enhance its natural beauty. Quality sealers provide a finish that can make old concrete look new and keep new concrete in pristine condition for years to come. By properly sealing your patio, you’re investing in the longevity and value of your property.
Understanding patio sealers is crucial for choosing the optimal product for your needs. Sealers come in various types, such as acrylic, epoxy, and penetrating sealers, each with unique properties and purposes. Acrylic sealers are popular for their ease of application and cost-effectiveness, forming a thin protective layer on the concrete’s surface. Epoxy sealers, on the other hand, are more durable and offer higher protection against chemical spills and heavy traffic. Penetrating sealers absorb into the concrete to form a chemical barrier that shields against moisture and de-icing salts, making them ideal for areas with freeze-thaw cycles.
Choosing the right sealer for your patio is vital for achieving the desired protection and finish. Factors to consider include the current condition of the concrete, the climate, and the level of traffic and use the patio receives. A professional or an experienced DIYer can assess these aspects to determine the most suitable type of sealer, ensuring the best long-term performance and aesthetics for the patio.
Materials and Tools Needed
Sealing a concrete patio requires specific materials, including the sealer itself, which should be chosen based on the type and expected use of the concrete area. Other materials may include crack fillers, concrete cleaners, and possibly stains or colorants if a decorative finish is desired. Having all materials on hand before beginning the project ensures a smooth workflow and helps to avoid interruptions.
In addition to the sealer and materials for surface preparation, the proper tools will ensure efficient and effective application. Tools and equipment might include a pressure washer for cleaning, rollers or sprayers for sealer application, mixing sticks, paint trays, and protective gear such as gloves and safety glasses. Quality tools contribute to a more professional finish and can make the entire sealing process more manageable.
Preparing a comprehensive list before you start will save time and reduce stress during the project. Ensure that you have everything from the basics like brooms for sweeping to more specialized tools like squeegees for spreading sealers. Having extra supplies on hand such as cloths for spill cleanup or additional roller covers can also help the job to proceed more smoothly.
Preparing Your Patio for Sealing
Cleaning the patio surface is the first critical step in the sealing process. The objective is to remove all dirt, grime, and any previous sealer that might prevent the new coat from adhering properly. A thorough cleaning will ensure that the sealing product bonds well to the concrete, which is fundamental for a long-lasting finish.
Repairing cracks and damage before sealing is also essential. Neglecting to fix cracks can lead to water infiltration, which may cause further damage to the concrete, such as expansion and contraction during freeze-thaw cycles. Using the right filler or repair product to address the damage will help create a smooth, uniform surface that’s ready for sealing.
Additionally, the patio must be completely dry before applying any sealer. Humidity or leftover moisture can cause the sealer to blister or not adhere correctly, leading to premature failure. Depending on the weather and the porosity of the concrete, drying can take up to 24 hours or longer, so planning the sealing job under appropriate weather conditions is crucial.
Safety Considerations
Before starting the sealing process, personal protective equipment should be considered. The sealer can contain chemicals that might be harmful if inhaled or if they come into contact with your skin. Essential protective gear includes safety goggles, masks, and gloves. It’s also vital to assure you’re working in a well-ventilated area to avoid inhaling any harmful fumes.
Safe handling and application of patio sealer is paramount to avoid accidents and to ensure an even, effective finish. Be conscious of the sealer’s properties; some can be flammable or react unpredictably if mixed incorrectly. Adhering to the manufacturer’s instructions and safety guidelines is non-negotiable for your well-being and the success of your project.
It’s equally important to keep children and pets away from the area during the sealing process and until the sealer has fully dried. Following these safety measures ensures that the project protects not only your patio but also you and your loved ones from potential hazards.
Step 1: Cleaning the Concrete Patio
A clean concrete surface is imperative for a successful sealant application. Begin by sweeping and removing debris from the patio. This includes leaves, dirt, and loose stones that can get in the way of the sealer adhering to the concrete properly. A stiff-bristled broom can help dislodge stuck-on dirt and even out the surface.
After sweeping, a more thorough cleaning is often required. A pressure washer is one of the most effective tools for deep cleaning, as it can remove deeply embedded stains and grime. For those without a pressure washer, a strong cleaning solution and a stiff brush can also do a good job. It’s important to give the patio a thorough rinse afterward to remove any cleaning residue.
If oil, grease, or other stubborn stains are present, specialized cleaners may be necessary to prepare the surface adequately. Some stains might need to be allowed to soak with the cleaning solution before scrubbing, while others might require multiple cleaning attempts. Patience is key during this phase as a clean surface will result in a more reliable sealing process.
Step 2: Repairing Cracks and Damage
The second step involves identifying problem areas where cracks or damage are visible. It’s important to carefully examine the entire patio, as small cracks can sometimes be overlooked but may lead to bigger issues if left unattended. Once identified, these areas should be marked for repair.
Repair techniques vary depending on the types and sizes of damage present. Hairline cracks can generally be filled with a concrete crack sealer, while larger fissures or holes might need a concrete patching mix. It’s important to follow the product instructions closely when mixing and applying repair compounds. Some may require the addition of water or specific tools for application.
Once the repairs are made, it’s essential to allow them ample time to dry and cure. Rushing to apply the sealer on top of fresh repairs can compromise both the repairs and the sealant’s performance. An adequately repaired and smooth surface creates the foundation for a seamless and effective sealer application.
Step 3: Applying the Sealer
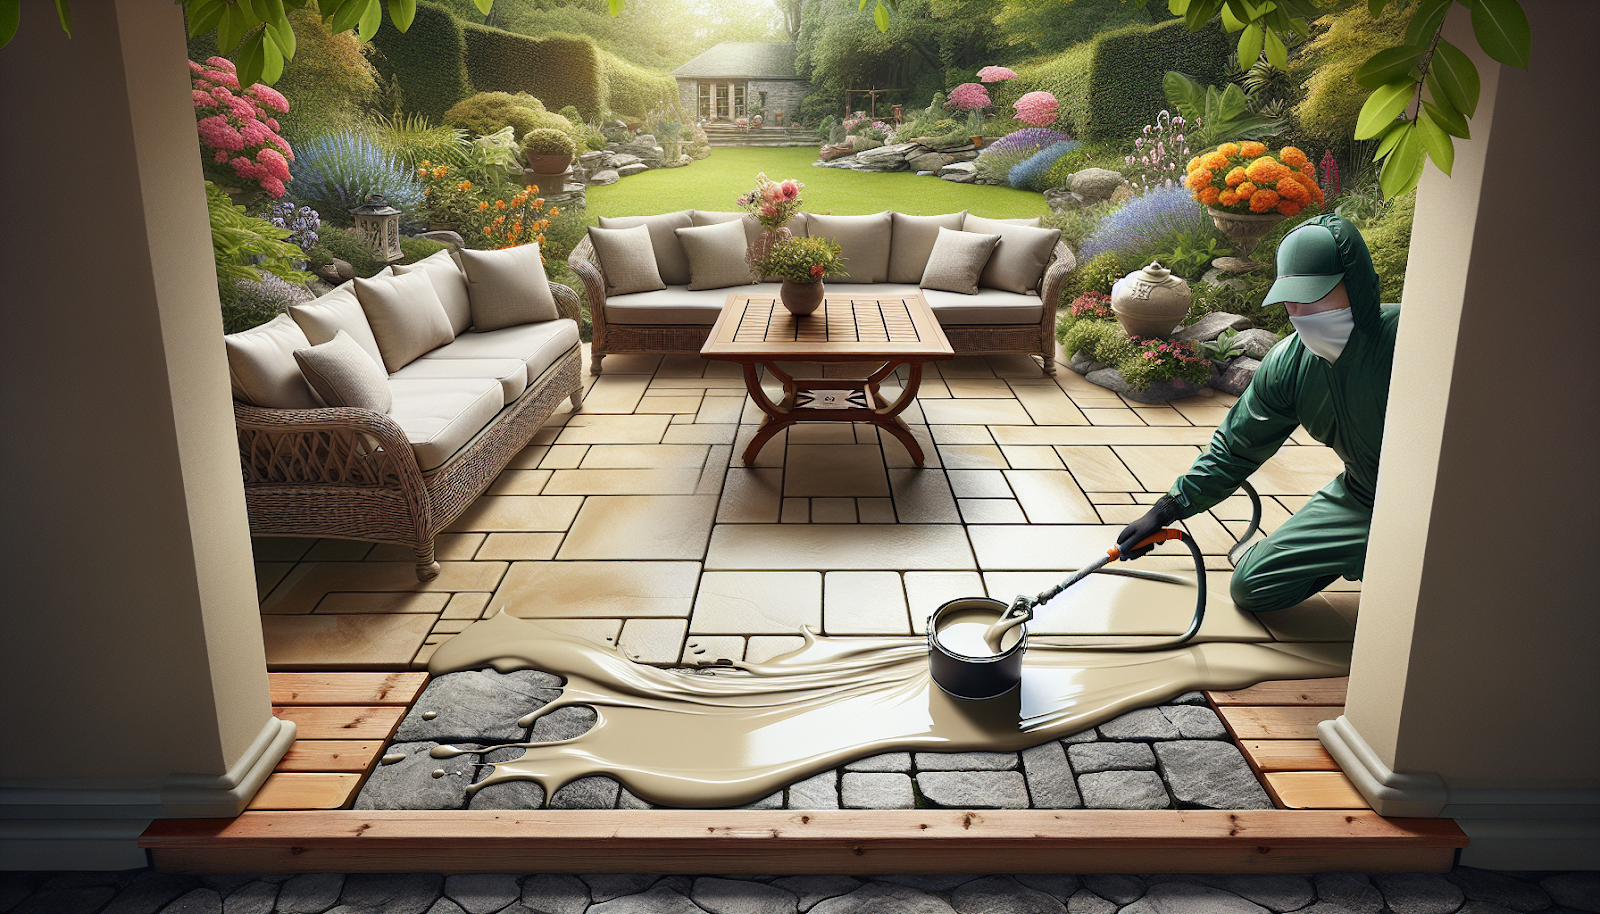
Before the sealer can be applied, it may need to be mixed or prepared according to the manufacturer’s instructions. If you’re using a two-component sealer, it’s vital to mix the parts accurately to achieve the correct chemical reaction and consistency. The mixing process should be done with care, often using a slow-speed drill mixer to avoid introducing air bubbles.
As for the application, different sealers may require different techniques, such as rolling or spraying, to ensure an even coating. Rollers are typically used for water-based sealers, while sprayers are often suited for solvent-based sealers. It’s crucial to keep a wet edge during application to avoid lines or marks in the sealer and work systematically to cover all areas uniformly.
Regardless of the application method, it’s important to avoid pooling or over-application of the sealer. This can lead to a patchy appearance, flaking, or peeling over time. If required, applying two thin coats rather than one thick coat can offer a better finish and stronger protection. Following the specific guidelines for each product is the best way to ensure a quality outcome.
Step 4: Curing and Drying
The sealer usually requires a specific set of conditions to cure properly. These conditions might include a certain temperature range and humidity level. Most often, a dry, warm day is preferred to ensure that the sealer cures thoroughly and effectively. It’s always best to check the weather forecast to avoid rain or unexpected shifts in temperature during the curing process.
The time required for the sealer to set can vary significantly between different products, ranging from a few hours to a full day or more. Recognizing full curing is often as simple as touching the surface to ensure it is dry to the touch and walking on it without leaving marks or indentations. Manufacturers will typically provide guidance on cure times and how to test for curing completion.
To avoid interfering with the curing process, refrain from moving furniture back onto the patio or walking on the surface before the sealer is fully cured. Any premature use can damage the sealant’s integrity and require reapplication or repairs. Ensuring proper curing is the key to a long-lasting and pristine finish.
Maintenance and Care for a Sealed Patio
Regular cleaning is essential to maintaining a sealed patio’s aesthetic and protective qualities. Routine maintenance might include sweeping, occasional rinsing, or gentle washing with a mild detergent. It’s important to avoid abrasive cleaning tools or harsh chemicals that can wear out the sealant or damage the concrete surface.
Sealer longevity can vary, so knowing how often to re-seal your concrete patio is important for continuous protection. Environmental factors, usage, and the type of sealer all play a role in determining resealing frequency. Most patios will benefit from resealing every one to three years, although some sealers may last longer.
To prolong the life of the sealer and the patio, consider implementing measures to minimize wear and tear. Using floor protectors on furniture, cleaning spills promptly, and occasionally inspecting for signs of wear can help maintain the integrity of the sealer and the underlying concrete. Taking these preventative steps will allow you to enjoy your outdoor space for many years to come.
Conclusion
In conclusion, sealing an outdoor concrete patio is a multi-step process that involves careful preparation, application, and maintenance to ensure longevity and aesthetic appeal. The steps include cleaning the concrete, repairing any damage, applying the sealer, and allowing it to cure fully, followed by regular maintenance. Choosing the right patio sealer and following the steps outlined are crucial for achieving a durable and visually pleasing outdoor space.
Remember that the key to a successful patio sealing job lies in the details: selecting the appropriate sealer for your situation, thoroughly preparing the surface, applying the sealer correctly, and allowing ample time for curing. By adhering to these steps and maintaining the sealed surface regularly, you can protect your investment and enjoy a beautiful and functional outdoor area for years to come.
Meta Title :- Steps for Sealing An Outdoor Concrete Patio
Meta Description :- Discover essential steps for sealing your outdoor concrete patio effectively. From surface preparation to selecting the right sealant.


