Step By Step Designer Radiator Installation Guide –DIY Tips
Introduction:
Designer radiators are elegant heating options that skillfully combine practicality and visual appeal. These contemporary heating units, in contrast to conventional radiators, are available in an array of sizes, forms, and finishes, making them fashionable accents to any space. With an emphasis on design, they frequently have streamlined lines, sports, creative shapes, and premium materials that enhance the room’s atmosphere.
There is a designer radiators to match any interior decor, be it eclectic, minimalist, or contemporary. These radiators are not only aesthetically pleasing but also very efficient in producing warmth, meaning that they will not only fulfil your house or office’s practical heating demands but also improve its entire ambience and appearance. Designer radiators are becoming a popular option for people looking for heating solutions that combine both practicality and refined aesthetics because of their adaptability and creative flair.
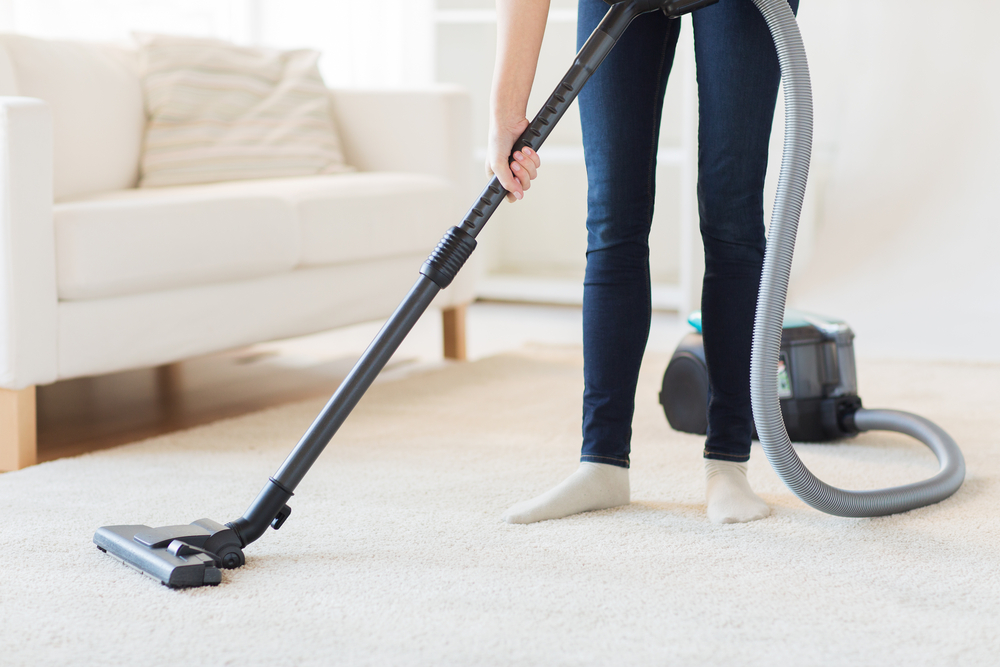
Placing a designer radiator will increase your home’s thermal efficiency in addition to its visual appeal. For individuals with some basic mechanical and handyman abilities, installing something yourself can be a satisfying undertaking, even though hiring an expert to do so is an alternative. We’ll take you step-by-step through the installation of a designer radiator in this tutorial, offering helpful advice to guarantee a safe and effective installation.
Step 1: Gather Necessary Tools and Materials
Before diving into the installation process, it’s essential to gather all the tools and materials required for the job. This typically includes a radiator, valves, pipe wrenches, a level, a pipe cutter, pipe thread sealant, a power drill, and appropriate mounting brackets.
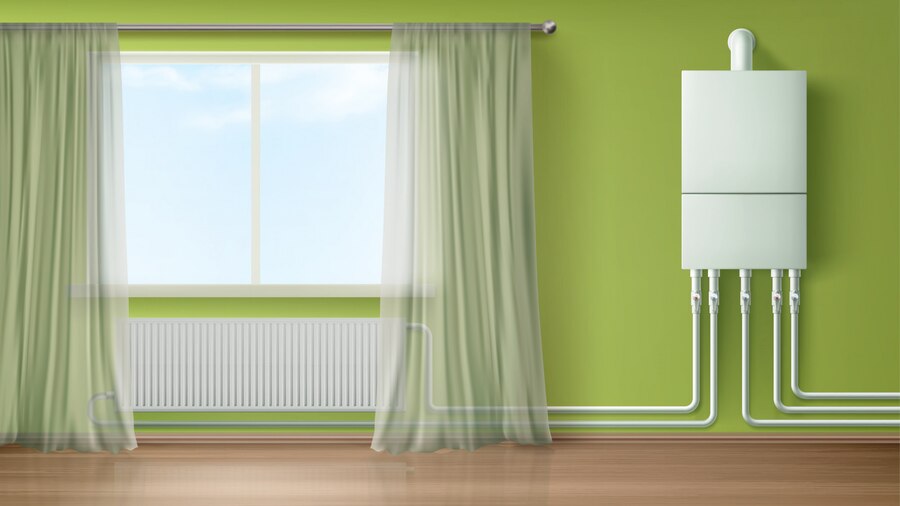
Step 2: Choose an Appropriate Location
Selecting the right location for your designer radiator is crucial for both functionality and aesthetics. Consider factors such as the room layout, available wall space, and the proximity to existing plumbing connections. Additionally, ensure that the radiator is not obstructed by furniture or curtains, allowing for optimal heat distribution.
Step 3: Turn Off the Central Heating System
Before starting any installation work, it’s important to turn off the central heating system and allow the existing radiators to cool down. This prevents accidents, such as burns from hot water, and makes it easier to drain the system for the installation.
Step 4: Remove the Current Radiator
To properly drain the water from the radiator, attach an extension cord to the drain valve located at its base after using a radiator bleed key to let go any trapped air. To prevent spillage, gather the discharged water in a vessel or basin. After emptying, firmly shut off the drain valve.
Step 6: Prepare the Mounting Brackets
If your designer radiator comes with its own mounting brackets, follow the manufacturer’s instructions to assemble them. Use a level to ensure the brackets are straight and mark the mounting holes on the wall with a pencil.
Step 7: Drill Holes and Install Brackets
Drill holes carefully in the designated areas using a power drill. If necessary, place wall plugs in place before using the proper screws to fasten the brackets for mounting to the wall. To avoid any balancing problems with the radiator, make sure that the brackets are level.
Step 8: Install Valves on the Radiator
Before mounting the radiator on the brackets, attach the valves to the radiator. Apply pipe thread sealant to the threads to prevent leaks. Tighten the valves securely using a wrench, ensuring a watertight connection.
Step 9: Mount the Radiator
With the valves attached, lift the designer radiator onto the installed brackets. Secure the radiator in place by tightening the bracket screws. Use a level to check that the radiator is horizontally aligned.
Step 10: Connect the Radiator to the Pipes
Reconnect the existing pipes to the newly installed radiator using a pipe cutter to achieve clean and precise cuts. Apply pipe thread sealant to the threads before connecting the pipes to the valves. Tighten the connections with a wrench.
Step 11: Refill and Bleed the System
Turn the central heating system back on and refill the system with water. Open the bleed valve on the designer radiator to release any trapped air. Close the valve once water starts flowing out consistently.
Step 12: Test the Radiator
After completing the installation, thoroughly test the designer radiator to ensure it heats up properly. Check for any leaks around the connections and make adjustments if necessary.
Conclusion:
You can install an elegant radiator in your residence effectively by following this thorough step-by-step tutorial. Always put safety first, turn off the heating and cooling system, and then take time to make sure everything is done correctly. Installing a designer radiator correctly makes your room seem cosier and creates a fashionable focus point for your house.